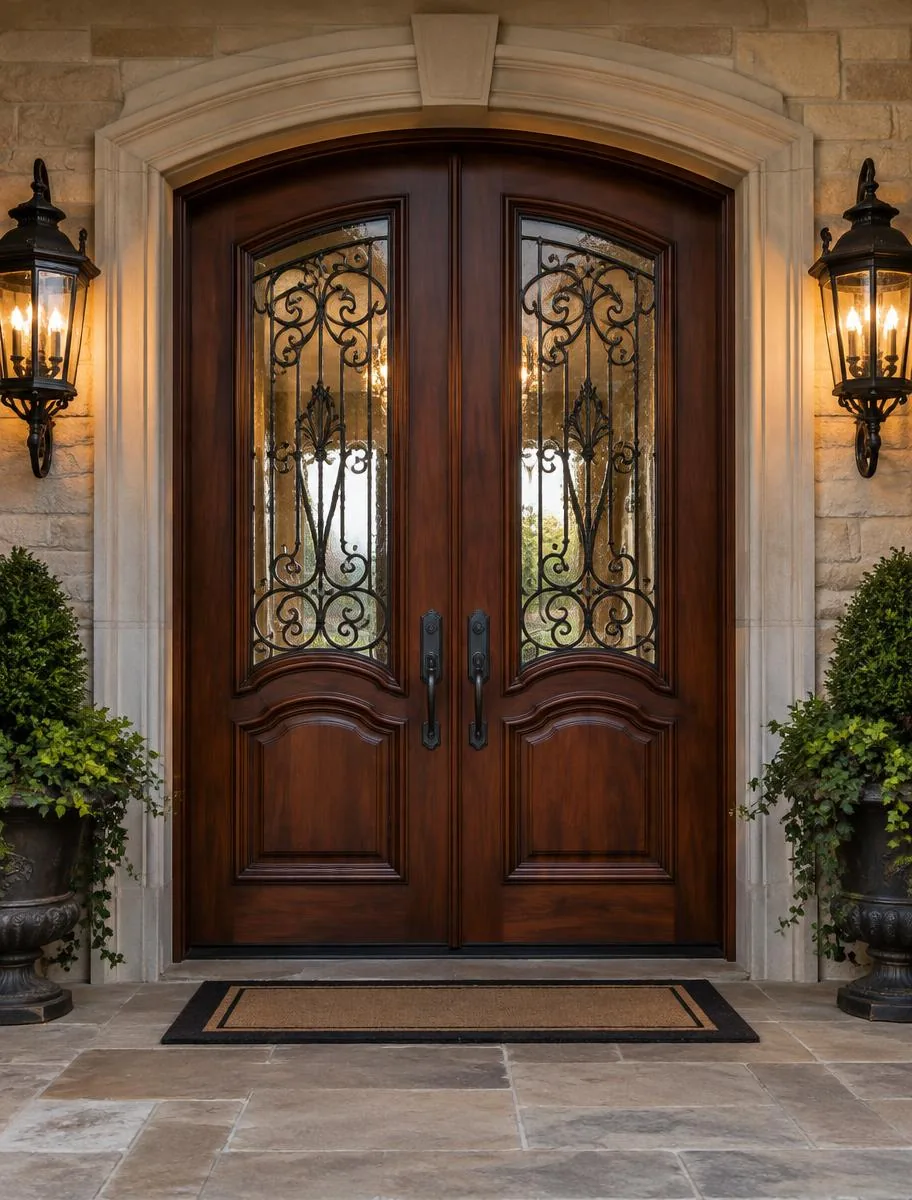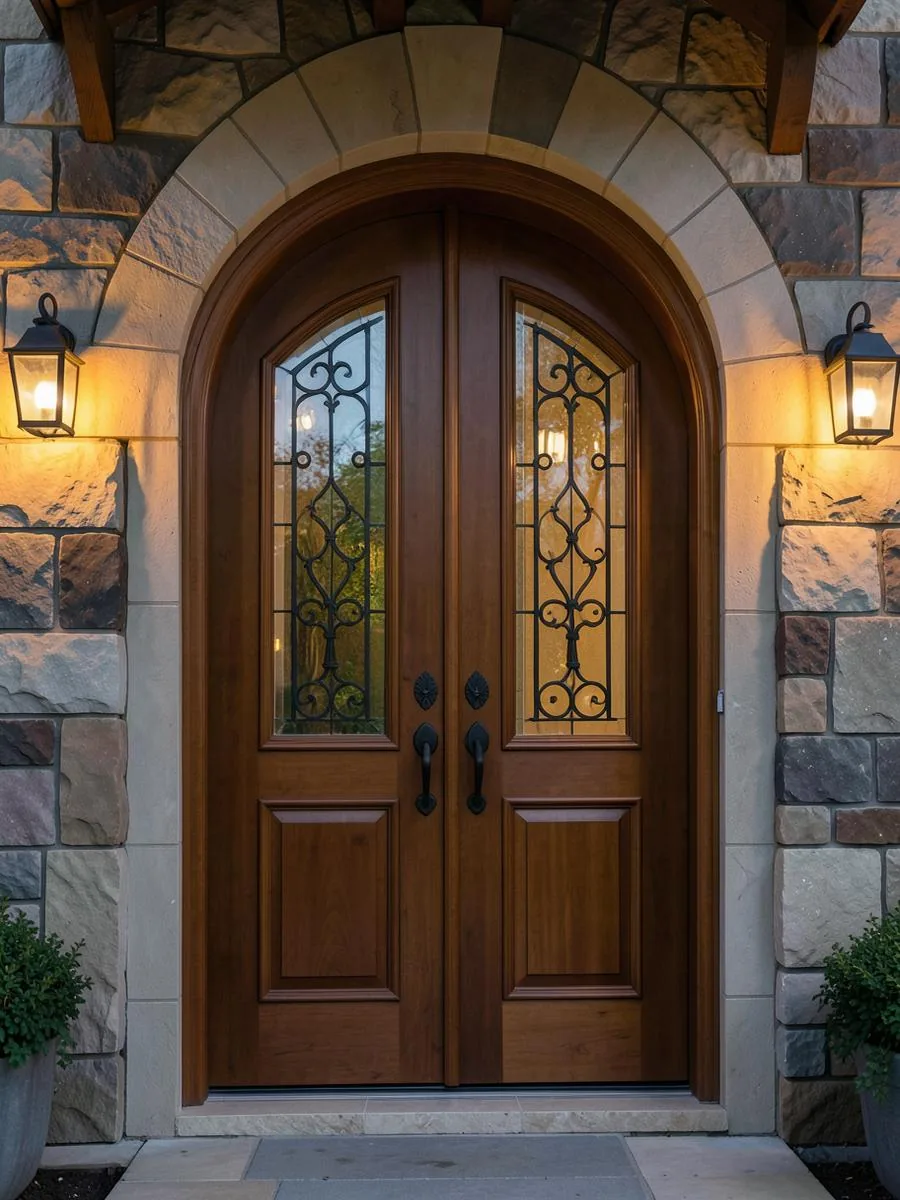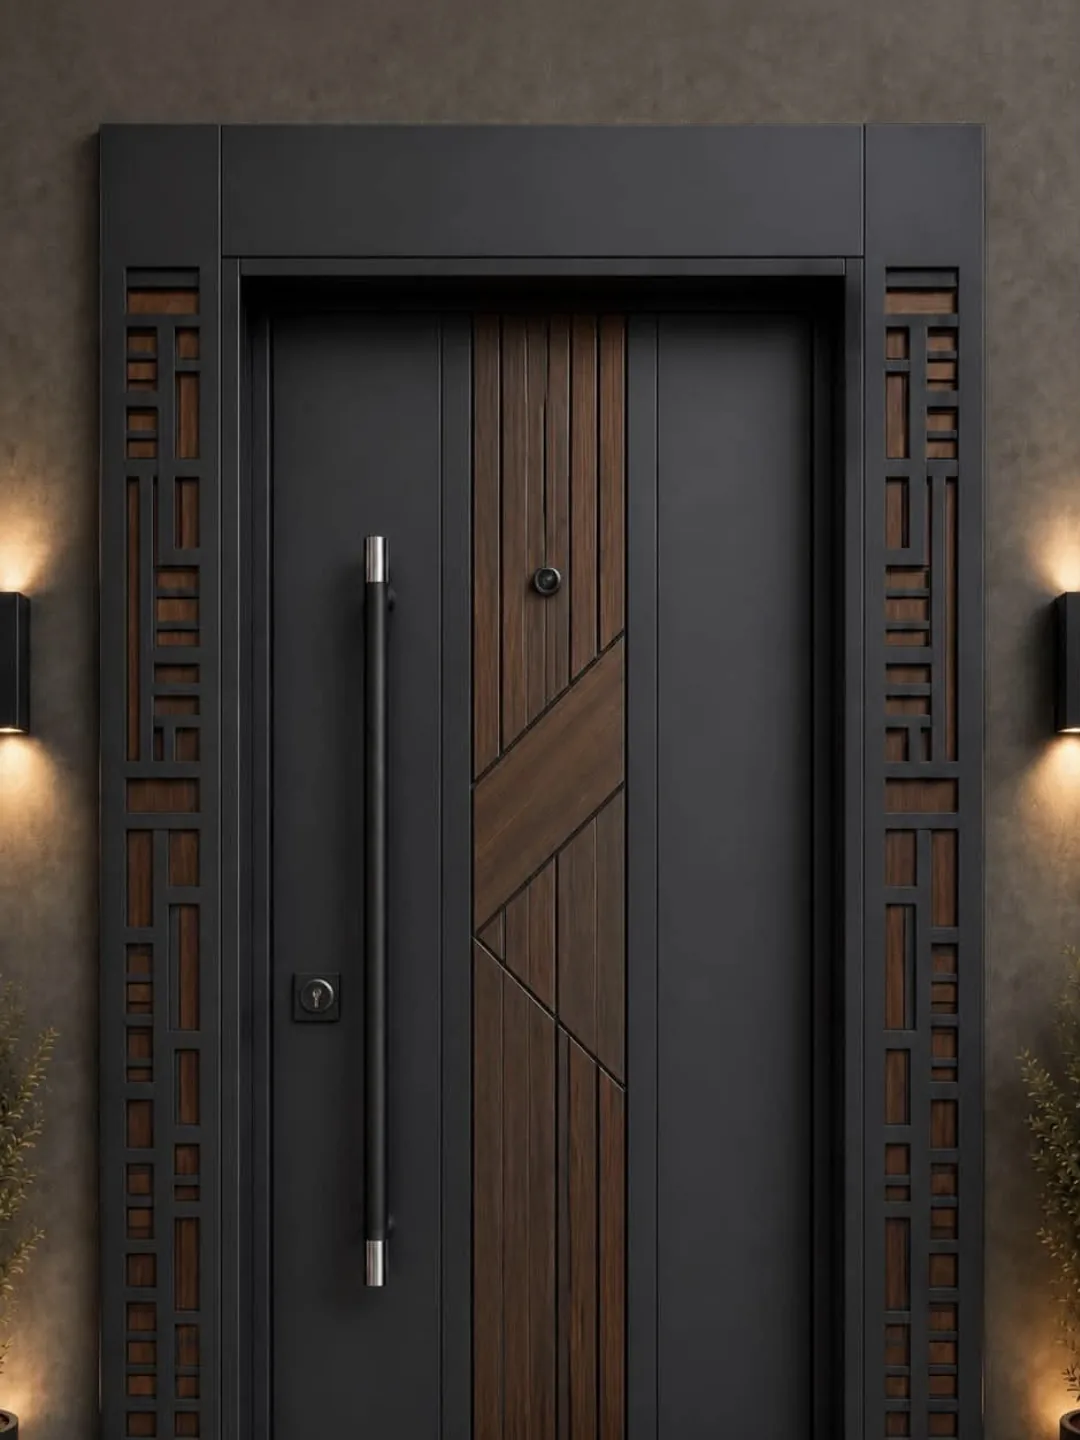
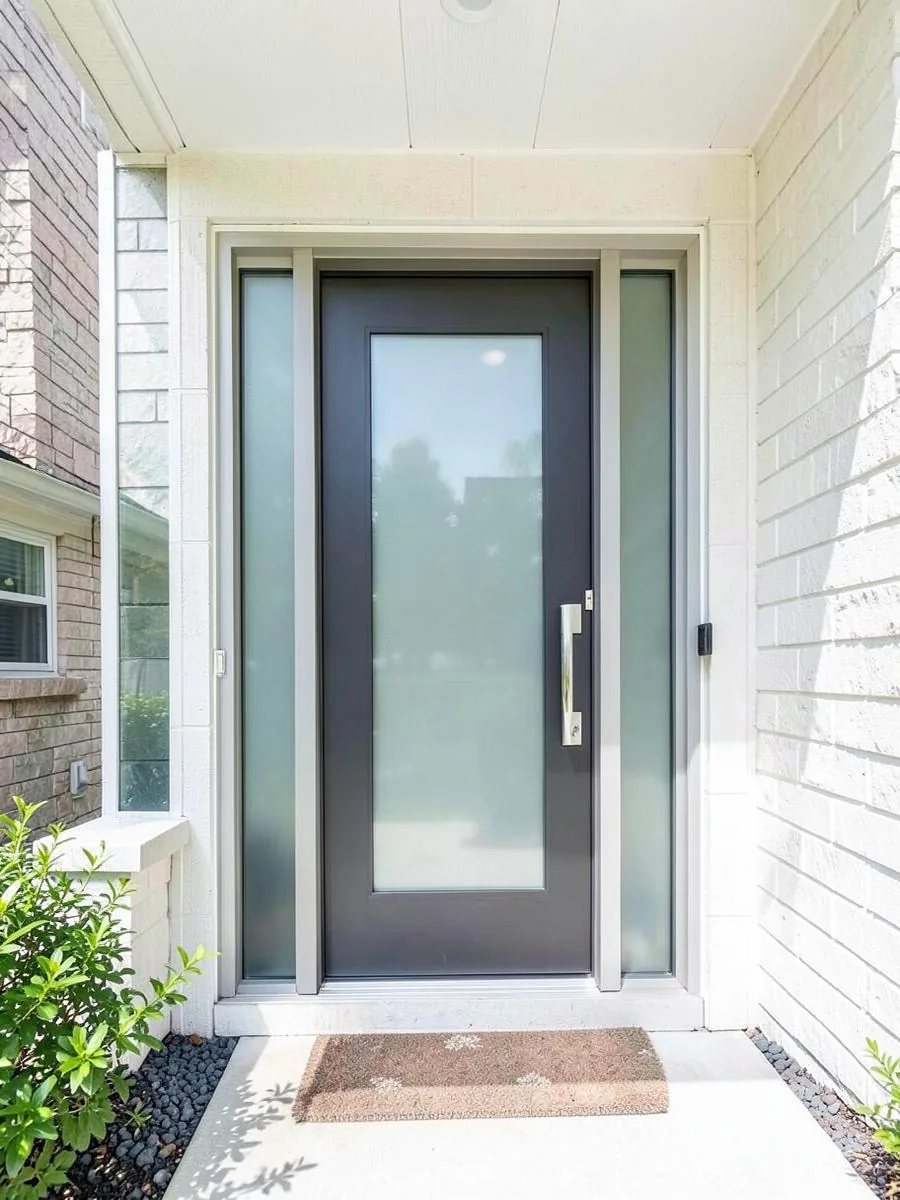
A common North American exterior slab thickness is 1-3/4 inches, but measure your actual door. Record slab, frame, rough opening and jamb depth separately, then have the complete specification verified before ordering.
Slab thickness is not the depth of your entrance
Many North American exterior door slabs are 1-3/4 inches thick. Interior slabs are often 1-3/8 inches, while some exterior systems use other thicknesses. These are general conventions, not a catalogue specification or a guarantee that an older door follows today’s common dimensions. Measure the existing slab and confirm the proposed replacement rather than ordering from a familiar number.
Thickness means the distance from the interior face to the exterior face of the moving door panel. It does not mean the distance through the wall, the depth of a decorative panel recess or the projection of a glass surround. A thicker slab also does not, by itself, establish insulation or security performance. The construction and complete entrance assembly matter.
Step 1: prepare a labelled measurement sheet
Use a tape measure, pencil and a simple sketch showing the entrance from inside and outside. Choose one unit and keep it consistent; label any converted measurements. Photograph the full entrance, threshold, hinges and latch edge. Include sidelites and a transom in the sketch so that their dimensions are not mistaken for the moving slab.
Open the door only when it is safe to do so, keeping children and pets away from the opening. Do not remove a heavy slab, loosen hinges or disturb exterior flashing to obtain a preliminary number. If a surface is concealed, write “not visible” rather than estimating. Separate what you directly measured from what you inferred from trim or a previous receipt.
Step 2: measure the slab, including its thickness
With the door open, measure the slab width across the panel itself, not between the frame stops. Take readings near the top, middle and bottom. Measure height along both sides of the panel, excluding an attached sweep when identifying the slab dimension. Record differing readings instead of averaging away a possible sign of wear, damage or an uneven installation.
For thickness, place the tape across an accessible straight edge from face to face. Avoid raised mouldings, weatherstripping and projecting hardware. A bevelled latch edge can make a casual reading misleading, so note where the reading was taken and have it checked. Also photograph existing lock holes and hinge positions if a slab-only replacement is being considered; thickness alone cannot establish whether it will fit.
Step 3: distinguish the frame from the rough opening
Frame size describes the outside dimensions of the assembled frame. The clear passage between jambs is a different measurement, and the width across decorative casing is different again. If you can identify the actual frame boundaries, record them explicitly. Otherwise, provide the visible measurements with photographs and let the person measuring the replacement identify the concealed frame edges.
The rough opening is the structural opening that receives the frame. It normally provides space for fitting and installation, but the required allowance depends on the selected system and installation method. Finished trim often hides it. Do not subtract an assumed allowance from a trim measurement or remove finishes unnecessarily. An installer may need to verify the opening after appropriate access is arranged.
Step 4: record jamb depth and wall conditions
Jamb depth is the frame dimension through the wall, from its interior side to its exterior side. Wall thickness describes the wall assembly, which can include framing, interior finishes and exterior layers. They are related but not interchangeable. Brick, siding, interior casing and a recessed frame can make the apparent depth different from the depth the replacement actually needs.
Measure an accessible jamb surface without including applied casing or brickmould, and photograph any jamb extension. Note deep returns, uneven plaster and changes in exterior cladding. Do not assume that a nominal framing size supplies the correct finished jamb depth. The frame, extensions, trim and weather-management details should be considered together so the replacement meets both interior and exterior finishes sensibly.
Step 5: document swing and handing without ambiguity
Write whether the door swings into the house or towards the exterior. Then take a photograph from outside and mark the hinge side on your sketch. Handing terminology can vary between suppliers, so “left-hand” on its own is less useful than a labelled viewpoint, hinge position and direction of travel. Confirm the supplier’s convention before approving the work order.
Show nearby walls, stairs, railings, light switches and furniture that could obstruct the swing. For paired doors, identify which leaf normally opens first and how the second leaf is secured. A proposed change from inswing to outswing, or a change of active leaf, needs a fresh assessment; it is not simply a different hinge location on an otherwise identical order.
Step 6: turn observations into a verified specification
Gather your measurements and photos in one place and mark any uncertainty clearly. Door Depot’s work-order fields include frame size, slab size, rough opening, jamb depth, swing and handing, alongside threshold, frame material, lock prep and glass. That separation is useful: it prevents a single “door size” from standing in for several decisions that affect fit and operation.
Use the measuring page to prepare for the next conversation. Oscar runs the measure and confirms the final price in writing. Ask which dimensions are verified, what remains concealed and whether a slab-only replacement is appropriate for the existing frame. Do not place a manufacturing order from preliminary measurements alone, especially where the frame is distorted or the entrance configuration is changing.
Frequently asked questions
Is every exterior door 1-3/4 inches thick?
No. It is a common North American slab thickness, not a universal requirement. Older, custom and specialised systems can differ. Measure the actual panel and confirm the proposed system.
Can I use the casing width as my door size?
No. Casing is applied trim and can conceal both frame edges and the rough opening. Label that measurement as casing width rather than presenting it as a slab or frame dimension.
Do I need to remove trim before a consultation?
Usually you can begin with accessible measurements and photographs. Ask what access is needed before disturbing finishes. A concealed rough opening should remain marked as unverified until it can be checked safely.
Does a thicker door always feel warmer?
Not necessarily. The slab construction, glass, seals, frame and installation affect heat transfer and draughts. Thickness is a fit measurement, not a substitute for comparable whole-product performance information.
Should I round my measurements to a standard size?
Record the readings you obtain, including differences across the opening. The person specifying the replacement should determine the required dimensions and installation allowances rather than relying on a rounded homeowner estimate.